The question
I am asked the most when people view my paintings is: How did you do that? So,
in answer to the question, here is a quick step-by-step view of the process:
I generally prepare anywhere from 4-10 pieces of watercolor
paper in advance by cutting the 22x30 sheets in half and adding the black border:
Then, I decide what design I will use to anchor the painting. In this case, I am using a Celtic Knot that I have modified:
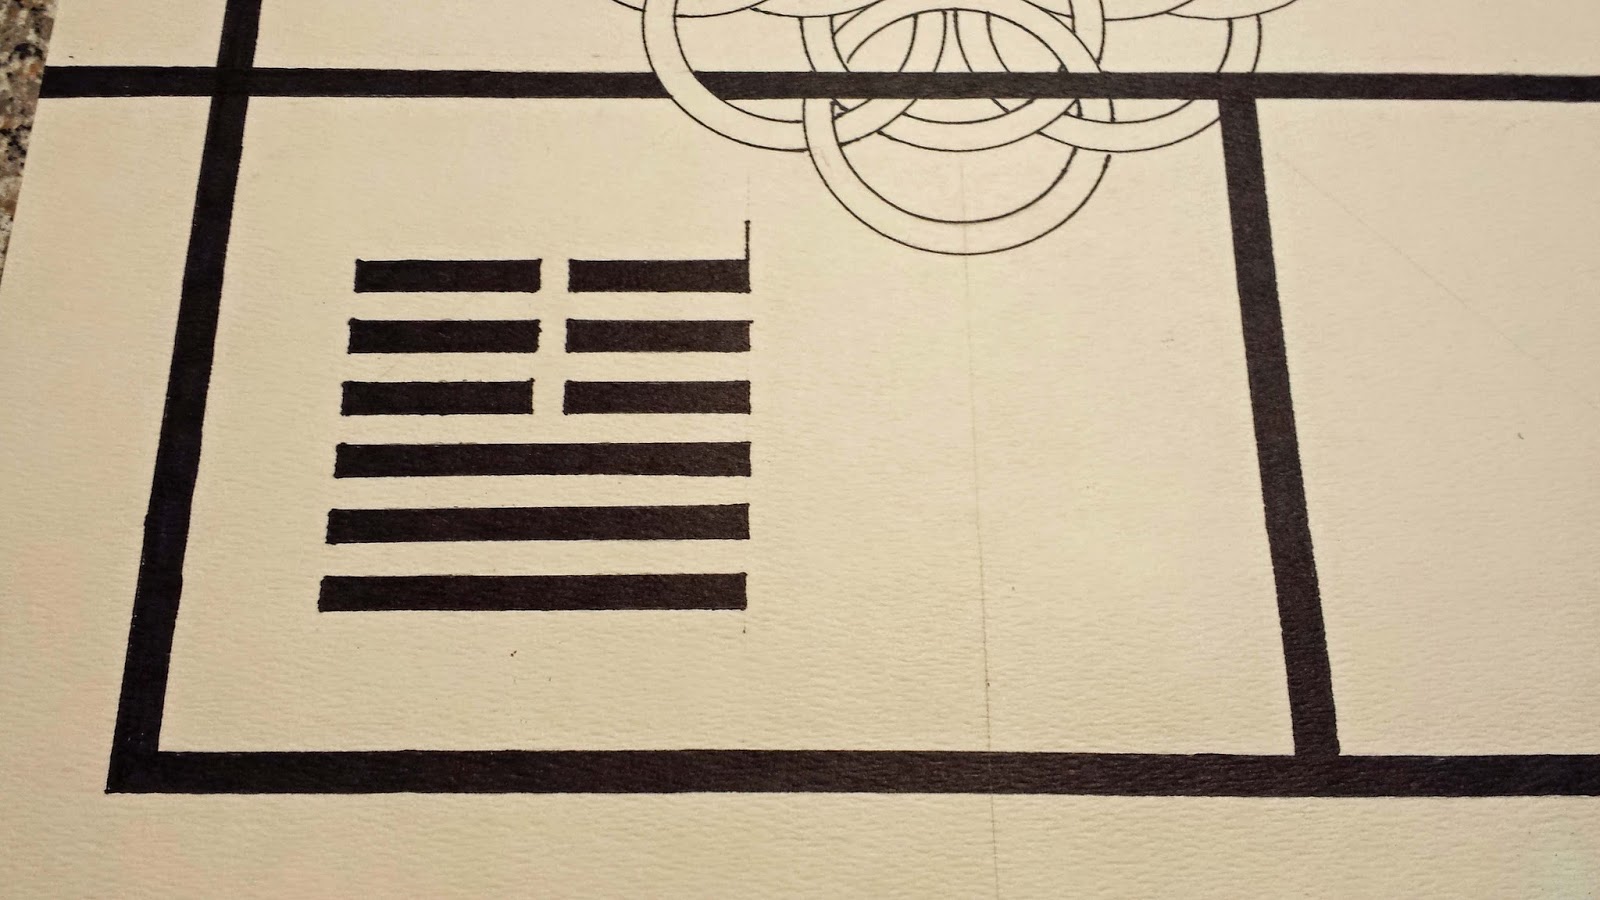
I decided to add a line across the top of the knot and goofed up (this happens frequently), the line ended up through one of the rings that I had planned to give the illusion of going through, see close-up:
As a result, I modified the line and added another vertical line to “hide” the mistake; I have also blocked in the hexagram:
A quick note about how the hexagrams are chosen: All are selected at random, however, now that the I Ching Project has reached the 60% completion mark, it is important that the status of all of the paintings are updated on the project spreadsheet so I know which hexagrams have NOT been worked on yet. I had to “pick” this hexagram a minimum of three times in order to hit on one that I hadn’t started yet.
Please note another goof (this was not my best day): There is an additional line at the top of the hexagram:
The
next step is adding the biomorphic design, these are created by using a set a
stencils. Elements of the stencils are used repeatedly to create the design.
Please
note the attempt to incorporate the mistake at the top of the hexagram into the
design:
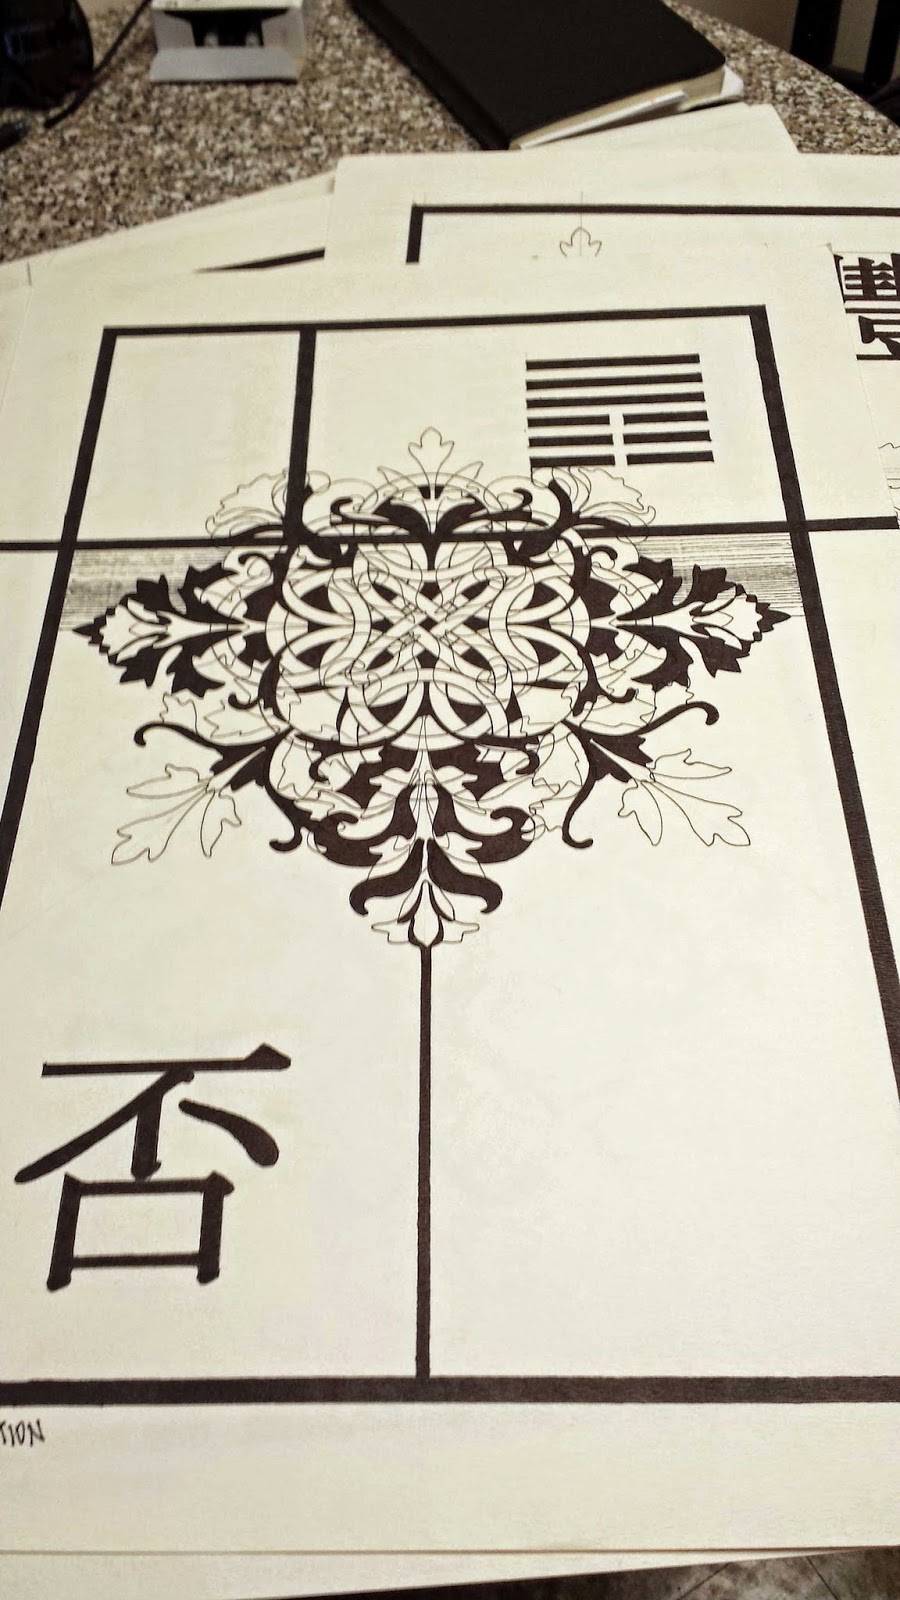
The completed biomorphic design:
Beginning
to fill in the design:
Another
view: I actually like the way that this view looks :)
The
design is taking shape:
The
completed biomorphic design, this process usually takes a couple of hours:
The
Chinese character for this hexagram has been added:
The final steps are the ink wash. There are usually 3-4 layers that have been added to complete the effect, each is gradually darker than the other. The India ink is applied with organic sponges and additional spattering is created using a sponge brush and toothbrushes.
Full view of the final painting: #12 Stagnation:
Jenn White
White Rooster Studios


No comments:
Post a Comment